What is an Empathy Map?
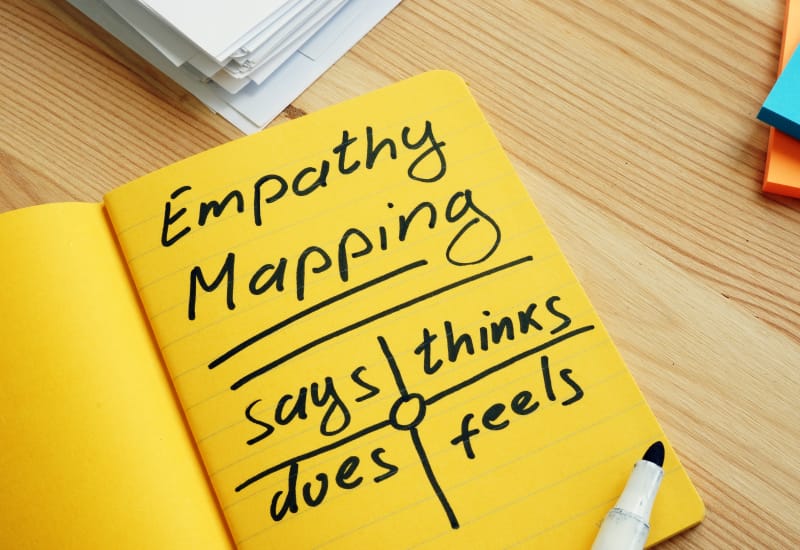
An Empathy Map, also known as a Persona Empathy Map, is a visual representation that captures the thoughts, emotions, and experiences of a persona in a specific situation. Typically, this scenario is an extreme case that highlights any pain points that the product team may have overlooked.
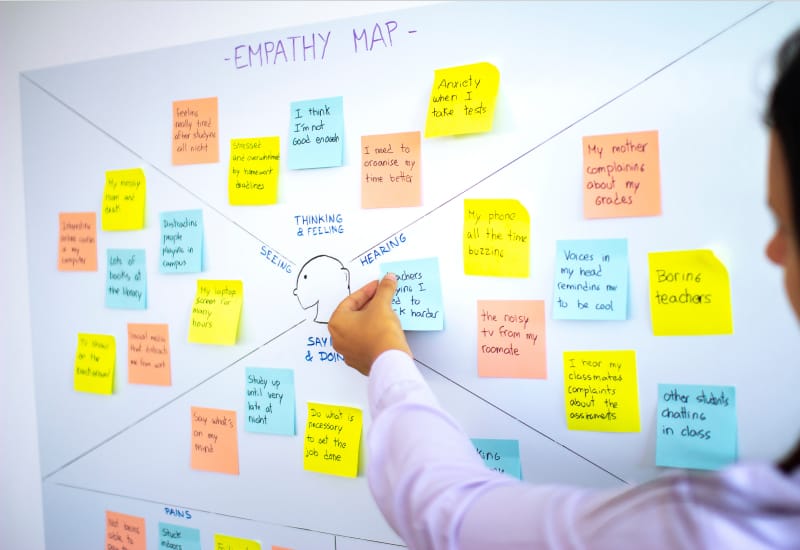
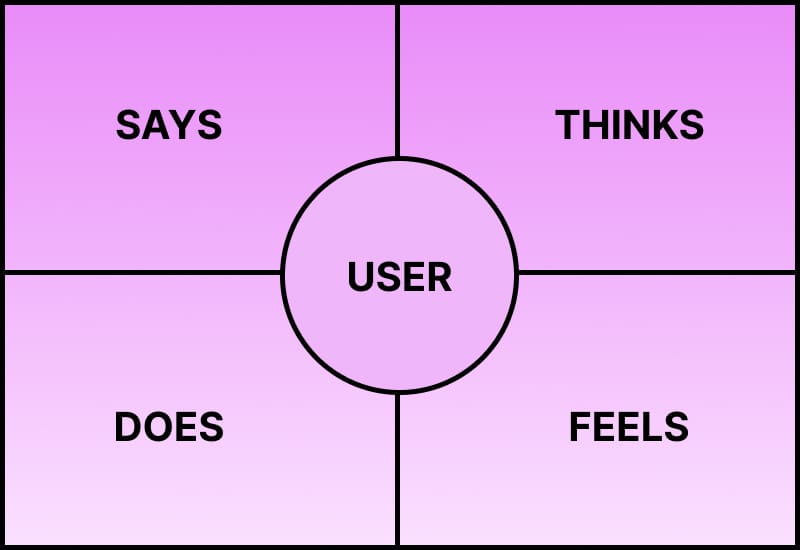
The Empathy Map includes a central image of the persona, surrounded by segments depicting their actions, feelings, and thoughts during the given scenario. It is often paired with a Journey Map to provide deeper insight into the persona’s behaviour and establish an emotional connection between the designers and the persona.

What do you need to create an Empathy Map?
TIME
MATERIALS
How do you create an Empathy Map?

Step 1: Prepare for Empathy Map creation
You must first have User Scenarios and Personas for your product. It is important to focus on the Primary Persona as this method emphasizes fringe cases that may increase the scope of your product if you start using secondary personas too.
Step 2: Organize a meeting
Invite product team members and stakeholders to a meeting and split them into groups of 3 or 4 people.
Step 3: Create Empathy Map template
Each group should draw a stick figure of their assigned persona on the board and label five sections around it with “See,” “Hear,” “Think,” “Feel,” and “Do.” There are also many templates online that you can download and print out ahead of time if that’s easier.
Step 4: Assign User Scenarios
Provide each group with a different user scenario.
Step 5: Brainstorm experiences of the personas
Give the groups 30 minutes to brainstorm the persona’s sensory input, thoughts, feelings, and actions during the scenario. They should record their findings in the appropriate sections on the whiteboard.
Step 6: Monitor progress
As they work, walk around the room and ask for insights that will inform the design process about the primary persona.
Step 7: Present findings
Ask each group to present their Empathy Map findings.
Step 8: Document Empathy Maps
Lastly, photograph each Empathy Map for future reference.
Tips for a great Empathy Map
